As any filmmaker knows, post-production is an extremely important part of the overall filmmaking process. It’s where your film comes to life and the part of the filmmaking process that can make or break the whole project. By creating and following an effective, streamlined post production workflow, you can give your film the best chance of success. Today, we’re taking a look at how to achieve that optimized post production workflow.
Where the post production process takes place
As a reminder, this is a generalized step-by-step diagram of the filmmaking process, showing where post-production takes place.
- Development – the story is written, and financing is secured.
- Pre-production – this is the planning stage for production. Schedules are drawn up, actors and crews are hired, and a suitable location (or multiple locations) are found.
- Production – all the footage needed for the film or video is recorded during this stage.
- Post-production – this is the stage we’re focusing on right now.
- Distribution – marketing of the film and distribution through cinema, film festivals, streaming sites and more.
What happens in the post production process?
This is where your film starts to actually look like a film. Slowly but surely, a cohesive narrative is built through editing—raw footage that’s been shot through the course of production begins to be pieced together, before being polished and fine tuned with sound, color and visual effects. Below, we’ve laid out the key stages in a typical post production workflow:
- Production – believe it or not, the work for post-production starts during production. The more organized and prepared you are during production, the smoother it’s going to be in the post-production process.
- Footage organization – organizing your raw footage effectively ensures a more effective, streamlined edit. No professional editor begins their edit without first logging and organizing all of their RAW footage.
- Editing – this is where you piece together the raw footage that’s been shot during production, according to the script that’s been written by directors and producers. This is the core of post-production where your raw footage is molded, cut, shaped and sculpted into a story.
- Color grading – next, colors and tones are enhanced and edited, creating an image that represents the story by evoking certain emotions and conveying key messages.
- Sound design – in sound design, music tracks are selected and additional sound effects added, all with the goal of enhancing the film and bringing it to life.
- Exporting – when the final cut is locked, it’s time to export. Depending on the film’s final destination (is it YouTube, the cinema, social media?), you’ll be dialing in certain settings.
How to optimize your post production workflow
Now that the various steps are established, let’s take a look at how we can begin to optimize each step of the post production process

Production
Optimizing post production begins by getting a head start in production, thinking about how it can be organized to benefit you in the next stage.
- As an editor, you’re looking for high-quality RAW footage with great sound. This means ensuring you use the best possible gear available.
- Pay close attention to lighting when on set. You want to make sure that the lighting is consistent and that the colors and brightness levels are well balanced
- Whenever possible, review and assess your footage. This can help spot mistakes early and correct them, before it’s too late.
- Maintain contact with any post-production staff. Project-dependent, it’s useful to keep post-production staff in the loop and give them a sense of what’s being captured each day on production.
- As you shoot, take notes and create a shot log. It should be relevant details such as date, time and location, what scene is being shot and with what camera. This can really help when it comes to organizing footage.
- Back up your footage regularly (preferably at the end of each shoot day) and, if possible, begin to organize it. There’s more on this below.
Footage organization
Before you begin editing, the process of logging and organizing footage is critical. This streamlines the process, saving time and making the job of finding and accessing footage for the edit far easier.
- Professional editors label all of their footage and audio files very clearly, so that it’s easy to find and, at a glance, understand what the clip is. They do this through labeling and metadata, adding keywords, descriptions and making notes.
- To help optimize this, establish a naming convention. Having a consistent and logical naming convention for your files is really useful. This should include information such as the date, location, project name and scene number.
- It goes without saying but creating folders to organize your files is a must. When working with a lot of RAW footage, it helps to keep everything organized, making it that much easier to find the file you need. A folder path may look something like this: Location > date and time > B-roll > camera used.
- Regularly backup all of your files and make sure to store this backup in a secure location. This protects your work and ensures that you can recover your files if anything goes wrong (it happens more than you like to think). There are a few ways to do this:
Hard Drive: Many editors store their footage on a high-capacity external hard drive. This is a reliable and cost-effective option that allows for easy access to the footage from any computer. HDD’s are cheaper, but SSD’s are more reliable.
Cloud Storage: Some editors use cloud storage services, such as Dropbox or Google Drive, to store their footage. This allows for easy access to the footage from anywhere and provides an additional layer of security for the files.
Network-Attached Storage (NAS): Additionally, some editors use network-attached storage (NAS) devices to store their footage. This allows for multiple users to access the footage from different computers on the same network—very useful if working with a team.
Asset Management Systems: Some editors use asset management systems, such as Adobe Prelude, Kyno or Avid Media Composer, to store and organize their footage. These systems provide a centralized location for all of the project’s assets, making it easier to find and access the footage you need.

Editing
Once you’ve logged and organized your footage, you can begin editing. This is the main chunk of the post-production workflow. There are many ways to optimize an editing workflow, not least of all by understanding what hardware and software is going to be needed to get the job done.
There’s nothing more frustrating and damaging to the speed of an edit than a machine that’s just not up to the job. With that being said, you’ll want to nail down which codec you’re using. A codec (compression-decompression algorithm) can have a significant impact on the performance of the editing software and the quality of the final output. Below, you’ll find some of the most common codecs in use by professionals today:
- ProRes: Developed by Apple, ProRes is a lossy codec that’s widely used. It offers high-quality compression and fast decoding speeds, making it a popular choice for editing large and complex projects.
- DNxHD/DNxHR: Developed by Avid, DNxHD/DNxHR is designed specifically for video editing. It provides high-quality compression and fast decoding speeds, making it a popular choice for professional video editors.
- H.264 / H.265: H.264 (and its successor, H.265) is a widely used codec that provides good quality compression with fast decoding speeds. It is widely supported and is commonly used for online video and consumer-level video editing.
- AVC-Intra: Developed by Panasonic, AVC-Intra is a high-quality codec that is widely used for broadcast-quality video editing. It offers fast decoding speeds and high-quality compression, making it a popular choice for professional video editors.
Not all codecs are equally well-suited for all types of editing, so the best codec for a specific project will depend on a number of factors, including the complexity of the project, the type of footage being edited, and the hardware and software being used. With that being said, you’ll want to think about renderers, too. This is a software component that’s used to generate and export the final video. You’ll find a few commonly used for video editing:
- Mercury Playback Engine (built into Adobe Premiere Pro)
- AVX (built into Avid Media Composer)
- CUDA/OpenCL – hardware-accelerated renderers that can be used with a variety of editing software, including Adobe Premiere Pro and DaVinci Resolve. These renderers use the graphics processing unit (GPU) to speed up the rendering process, making them a popular choice for video editors who need to work quickly.
- Final Cut Pro X Renderer (built into Final Cut Pro X)
In terms of the actual editing, with your footage organized and logged with metadata, you can begin pulling selects and building your edit. To optimize this, we suggest the following:
- Have a plan! Both before and as you go, reference the storyboard and communicate with your directors and producers so that you understand what’s being asked of you at all times.
- Begin with the most important shots. These are the key cornerstones of any edit and allow you to build on solid foundations.
- When constructing your first rough cut, build it in order. Working through each scene and sequence in turn maintains continuity and gives you a clear idea of the overall narrative.
- Don’t do anything too fancy at the beginning. This is time consuming and unnecessary. To begin with, it’s all about focusing on the story and pacing. More complex transitions and polish can come later.
- Review and revise regularly with your team, including the directors and producers. Together, you can identify any areas for improvement, remain on track and make the necessary adjustments as you go.
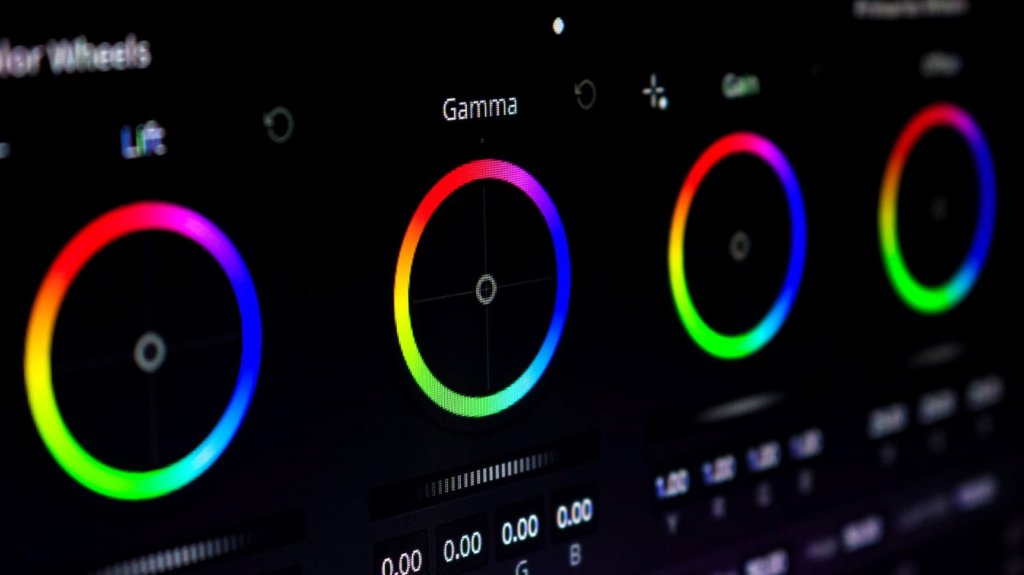
Color grading
Once the edit is locked and everyone’s happy, you can begin polishing the film with post-production processes such as color grading. You can optimize this in several ways:
- Have a plan. Before you begin color grading, know what look and feel you want to achieve. This will enable you to make informed, calculated decisions at a faster pace.
- Invest in a good monitor. You want to make sure your color grade is accurate, don’t you? A high-quality, calibrated monitor is essential for professionals.
- Work in a controlled environment with consistent lighting. This will minimize any color inaccuracies or issues with consistency.
- Create a consistent workflow. Start with color correction before moving on to grading, working in a systematic manner, taking one sequence at a time.
- Avoid making drastic changes. As tempting as it may be to jump straight to the look you want, big changes made too quickly can negatively impact the overall look and feel of your video, slowing you down as you try to step back and start again.
- If the time and budget allows, consider outsourcing this to specialists. Professional colorists can get the job done to a much higher standard.

Sound design
Similarly to color grading, there are a few ways in which you can optimize sound design:
- Invest in a high-quality pair of headphones. This is a no brainer. You need the right tools to carry out a professional job and ensure that you’re hearing everything accurately.
- Again, work in a controlled environment. You want to ensure there’s minimal background noise while carrying out sound design. Distractions lead to mistakes and a slower work rate.
- Create a sound design workflow, working in a linear fashion through one sequence at a time. Begin by editing existing sound, then adding further SFX and finally, mixing.
- Just like color grading, if the time and budget allows, consider outsourcing this to specialists. Professional sound designers can get the job done to a much higher standard.
Finalizing a project
With the edit finished and ready for export, you’re at the end stages of post production. There’s a few ways you can optimize this for a smoother ride. Ultimately, you need to know the end destination for your video. This allows you to choose the right format to export in (H.264 is very popular), as well as setting the right resolution and frame rate. You should use a high bit rate to ensure the best possible video quality and don’t forget to check over all the settings before clicking that export button.
Final thoughts
By following these tips and tricks, you can really optimize your post-production workflow, potentially saving hundreds of hours of work. Optimizing and streamlining is an essential skillset to learn as an editor—it can set you apart from competition, impress your peers and help you climb the editing jobs ladder in no time. Most of all, it’s going to make your life a lot easier with a work process that’s more enjoyable and stress-free.
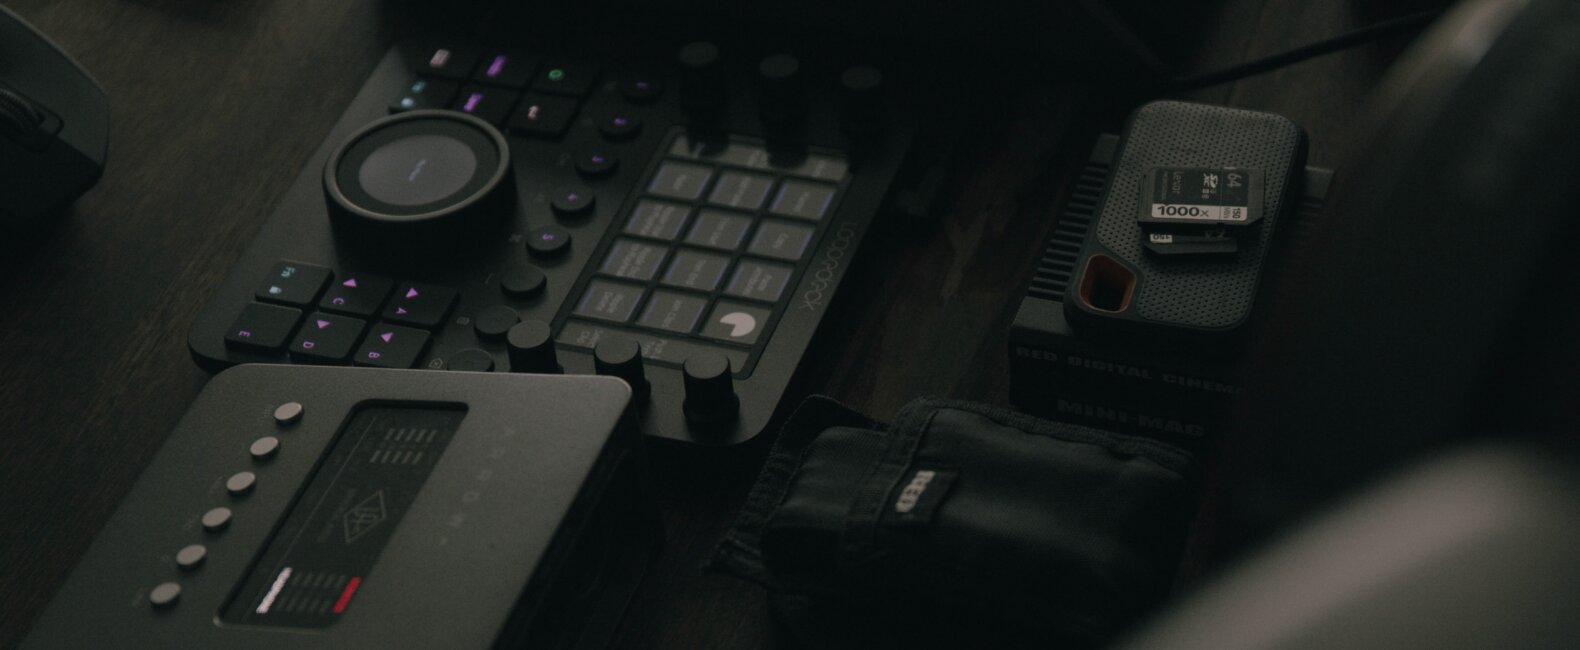
Photo by Josh Sorenson on Unsplash